Comprehending the Differences Between Top Bend and Side Bend LED Neon Flex
Before delving into the mounting techniques, it's crucial to understand the fundamental differences between Top Bend and Side Bend LED Neon Flex. These variations in design significantly impact their installation methods and applications.
Top Bend LED Neon Flex: Characteristics and Applications
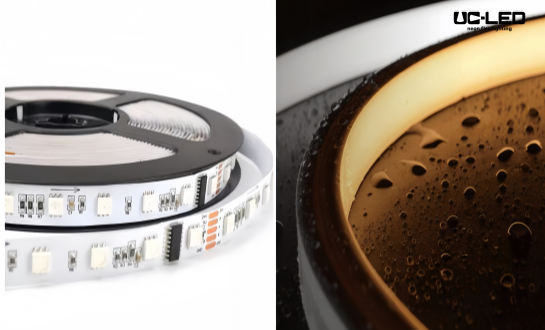
Top Bend LED Neon Flex is designed to bend vertically, perpendicular to its base. This design allows for creating intricate shapes and letters when viewed from the front. It's particularly suitable for signage, decorative outlines, and architectural lighting where the flex needs to follow complex contours or create sharp angles.
The flexibility of Top Bend Neon Flex is primarily in the up-and-down direction, making it ideal for applications that require vertical bends. This type is often used in creating logo designs, illuminated lettering, and accent lighting for buildings or interiors.
Side Bend LED Neon Flex: Unique Features and Uses
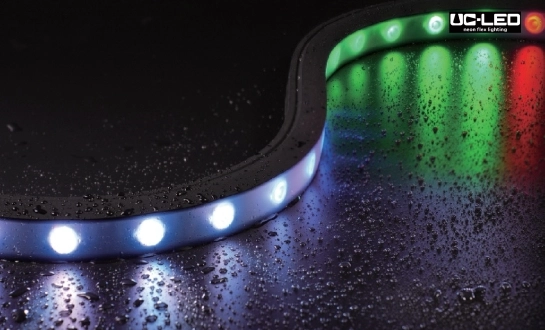
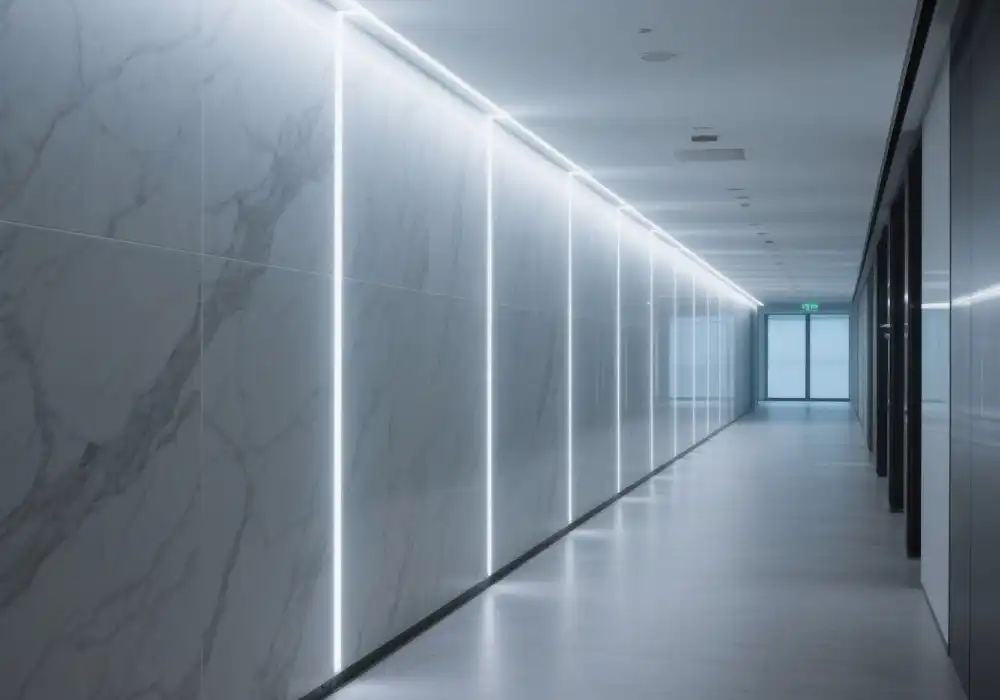
Side Bend LED Neon Flex, as the name suggests, is engineered to bend sideways, parallel to its base. This design allows for smooth, continuous curves and is perfect for creating circular or spiral designs. The Side Bend variant excels in applications where gentle, flowing lines are desired.
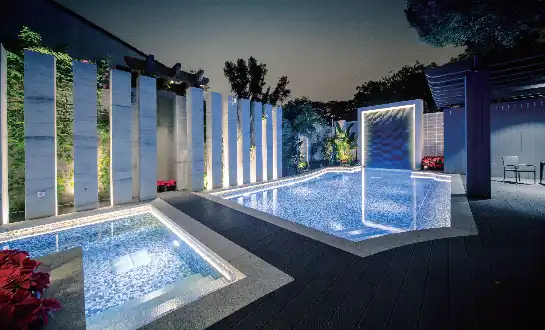
This type of neon flex is particularly useful for outlining curved architectural features, creating circular signage, or designing wave-like patterns. Its ability to bend smoothly in a horizontal plane makes it a preferred choice for projects that require long, uninterrupted lines of light.

Comparing Mounting Requirements
The mounting requirements for Top Bend and Side Bend LED Neon Flex differ due to their distinct bending directions. Top Bend requires mounting points that allow for vertical flexibility, while Side Bend needs support that accommodates horizontal curvature. Understanding these differences is key to selecting the appropriate mounting hardware and techniques for each type.
Essential Tools and Materials for Mounting LED Neon Flex
Proper installation of LED Neon Flex, whether Top Bend or Side Bend, requires a specific set of tools and materials. Having the right equipment not only ensures a secure installation but also enhances the longevity and performance of your lighting setup.
Mounting Hardware: Clips, Channels, and Brackets
The choice of mounting hardware is crucial and varies depending on whether you're working with Top Bend or Side Bend LED Neon Flex. For Top Bend, you'll typically need:
- Mounting clips: These small, U-shaped fasteners securely hold the neon flex in place while allowing for vertical bending.
- Aluminum channels: For longer runs or more permanent installations, channels provide continuous support and can improve heat dissipation.
For Side Bend LED Neon Flex, consider:
- Specialized side-mount brackets: These are designed to hold the neon flex securely while accommodating its horizontal bending capability.
- Flexible mounting tracks: These can follow curves and provide continuous support for side-bending installations.

Adhesives and Fasteners
Depending on the mounting surface and the specific requirements of your project, you'll need:
- High-quality silicone adhesive: For secure, weather-resistant bonding on various surfaces.
- Double-sided tape: Useful for temporary installations or on surfaces where drilling isn't possible.
- Screws and anchors: For more permanent installations, especially on wood or masonry surfaces.
Cutting and Sealing Tools
To customize your LED Neon Flex installation, you'll need:
- Sharp scissors or a cutting tool designed for LED strips
- End caps and sealants to waterproof cut ends
- Heat shrink tubing for additional protection at connection points
Electrical Components
Ensure you have the following electrical components on hand:
- LED controllers or dimmers (if applicable)
- Power supplies appropriate for your neon flex's voltage and wattage
- Connectors and extension cables as needed
Step-by-Step Guide to Mounting LED Neon Flex
Now that we understand the differences between Top Bend and Side Bend LED Neon Flex and have gathered the necessary tools, let's walk through the step-by-step process of mounting these versatile lighting solutions.
Preparation: Planning and Surface Cleaning
Before beginning the installation, it's crucial to plan your layout meticulously:
- Sketch your design: Create a detailed plan of where the neon flex will be installed.
- Measure carefully: Ensure you have enough neon flex and appropriate power supplies for your design.
- Clean the mounting surface: Thoroughly clean the area where you'll be installing the neon flex. Use a suitable cleaner to remove dust, grease, or any other contaminants that could affect adhesion.
- Mark mounting points: Use a pencil or chalk to mark where you'll place mounting clips or brackets.
Installing Mounting Hardware
The installation process varies slightly depending on whether you're using Top Bend or Side Bend LED Neon Flex:
For Top Bend Neon Flex:
- Position mounting clips: Place clips at regular intervals along your marked line. For straight runs, space them about 30cm apart. For curves or bends, place them closer together.
- Secure the clips: Use screws or strong adhesive to fasten the clips to the mounting surface. Ensure they're firmly attached.
For Side Bend LED Neon Flex:
- Attach mounting brackets: Use specialized side-mount brackets, positioning them at regular intervals along your marked line. The spacing may need to be closer for tighter curves.
- Secure the brackets: Fasten the brackets securely using screws or strong adhesive, ensuring they're aligned correctly to support the horizontal bending of the neon flex.
Attaching the LED Neon Flex
Once your mounting hardware is in place, it's time to install the neon flex:
- Start at the power source: Begin attaching the neon flex from the end that will connect to the power supply.
- Gently press into place: Carefully press the neon flex into the mounting clips or brackets. For Top Bend, ensure it's seated properly in each clip. For Side Bend, make sure it's correctly positioned in the side-mount brackets.
- Create bends gradually: When creating curves, especially with Side Bend neon flex, form the shape gradually to avoid stressing the LED strip inside.
- Secure without overtightening: Ensure the neon flex is held securely but avoid overtightening, which could damage the product.
Electrical Connections and Testing
With the neon flex mounted, it's time to complete the electrical connections:
- Connect to power supply: Attach the neon flex to your pre-installed power supply, ensuring all connections are secure and properly insulated.
- Install controllers (if applicable): If you're using dimmers or RGB controllers, connect these between the power supply and the neon flex.
- Test the installation: Before finalizing everything, power on the system to check for any issues. Look for dark spots, flickering, or color inconsistencies.
- Make adjustments: If you notice any problems, power off the system and make necessary adjustments to the mounting or connections.
Finishing Touches and Weatherproofing
To ensure your installation lasts:
- Seal ends and connections: Use end caps and silicone sealant to waterproof any cut ends or connection points, especially for outdoor installations.
- Conceal wiring: Neatly tuck away any visible wiring for a clean, professional look.
- Final inspection: Do a final walkthrough to ensure everything is secure and functioning correctly.
By following these steps, you can achieve a professional-looking installation that showcases the unique qualities of both Top Bend and Side Bend LED Neon Flex. Remember, proper mounting not only enhances the aesthetic appeal of your lighting design but also ensures the longevity and performance of your LED neon flex installation.
Conclusion
Mastering the art of mounting Top Bend and Side Bend LED Neon Flex opens up a world of creative lighting possibilities. By understanding the unique characteristics of each type and following the proper installation techniques, you can achieve stunning results in your lighting projects. Remember, the key to a successful installation lies in careful planning, using the right tools and materials, and paying attention to detail throughout the process.
For those looking to elevate their lighting designs with high-quality LED Neon Flex products, consider partnering with a reputable LED neon flex manufacturer or supplier. A trusted LED neon flex factory can provide not only superior products but also valuable technical support and customization options to meet your specific project needs. By choosing a reliable LED neon flex supplier, you ensure that you're working with materials that will deliver the best performance and longevity for your lighting installations.
FAQ
What's the main difference between Top Bend and Side Bend LED Neon Flex?
Top Bend Neon Flex bends vertically, perpendicular to its base, while Side Bend Neon Flex bends horizontally, parallel to its base. This difference affects their applications and mounting techniques.
Can I cut LED Neon Flex to fit my specific project needs?
Yes, most LED Neon Flex products can be cut at designated points. However, always refer to the manufacturer's guidelines and use proper sealing techniques after cutting.
How do I ensure my outdoor LED Neon Flex installation is weatherproof?
Use weatherproof mounting hardware, apply silicone sealant at connection points and cut ends, and ensure all electrical components are rated for outdoor use.
Expert LED Neon Flex Solutions | QUAN HE
QUAN HE Lighting Co., Ltd., established in 2015, is a premier manufacturer of high-quality linear lighting solutions, including innovative Side Bend LED Neon Flex. Our state-of-the-art 5,000m² factory, equipped with advanced SMT assembly lines and rigorous quality control processes, ensures superior products for diverse applications. We offer expert OEM and ODM customization services, backed by our dedicated R&D team and ISO-certified manufacturing processes. For tailored lighting solutions and professional support, contact us at Linda@uc-led.com.
source: LED Light

References
1. Johnson, E. (2022). "Advanced Techniques in LED Neon Flex Installation." Lighting Design Quarterly, 45(3), 78-92.
2. Smith, A. R. (2021). "Comparative Analysis of Top Bend and Side Bend LED Technologies." Journal of Innovative Lighting, 17(2), 215-230.
3. Zhang, L., & Wang, H. (2023). "Weatherproofing Strategies for Outdoor LED Neon Flex Applications." International Conference on Lighting Technologies, Conference Proceedings, 112-125.
4. Brown, M. K. (2020). "Energy Efficiency in Modern LED Neon Flex Systems." Sustainable Lighting Solutions, 8(4), 302-318.
5. Davis, T. L. (2022). "Creative Applications of Side Bend LED Neon Flex in Architectural Design." Architectural Lighting Review, 29(1), 55-70.


