Comprehending LED Neon Flex: The Flexible Lighting Solution
What is LED Neon Flex?
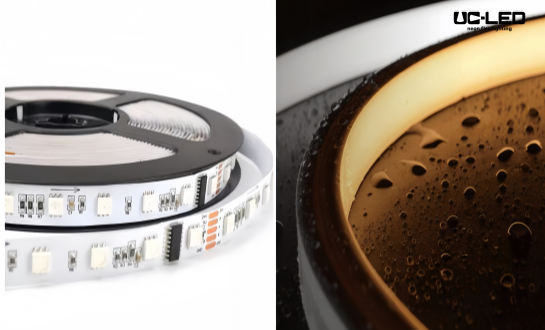
New LED neon flex, also known as flexible led neon tube light, lights up a room with neon-style lights that are more flexible, use less power, and last longer. The LED neon flex is not like other neon tubes because it is made up of LED chips that are contained in a bendable PVC or rubber shell. It's easy to bend and shape to make different designs.
Advantages of LED Neon Flex for DIY Projects
One strong reason why DIY fans like neon flex LED 12V is that it's easy to use. It can be used in small spaces and difficult shapes because it is flexible. LEDs use less power, so your power bills will go down and the earth will be better off. Another reason why LED neon flex is better to work with than normal neon is that it has less power and no dangerous gases in it. These one-of-a-kind light sets will light up your space for years to come because they last up to 50,000 hours.
Types and Colors Available
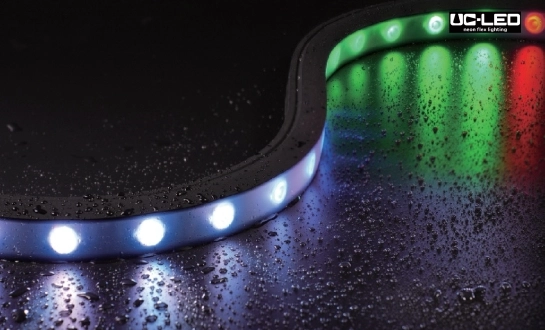
Different projects can use different kinds and colors of LED light wire. You can pick one color from a bunch of bright ones, warm white, and cool white. For screens that move around more, the RGB and RGBW types can change colors, which lets you make cool light shows. You can carefully control different parts of some types of strips because their LEDs can be programmed. This gives you even more artistic options.
Planning Your DIY LED Neon Flex Project
Designing Your Light Installation
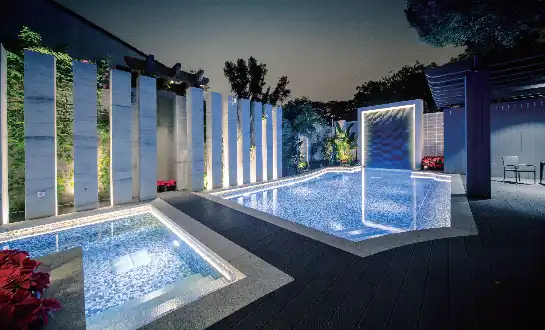
Before you start making, you should carefully think about the style you want. Think about where you want to put the LED neon tube light that can be bent and write down your ideas. Think about the mood you want to create and how the lighting will match the style of the room as a whole. If you want to do a good job, whether you're working out building features, making wall art, or putting accent lights on furniture, you should make a plan first.
Calculating Power Requirements
You need to make accurate power predictions in order to place neon flex LED 12V in a way that is safe and effective. What length of LED strips you want to use and how much power each one will need. You can choose the right power supply now that you know these things. You should choose a power source that can handle a little more than you think you'll need. This will ensure stable performance and give you room to grow in the future.
Selecting the Right Tools and Materials
Make sure you have everything you need for a do-it-yourself job before you start. You'll also need a power source, plugs, connecting clips or channels, and maybe even an RGB strip driver. A measuring tape, wire strippers, scissors or a sharp tool knife are what you'll need to cut the strips. A drill is what you'll need to hold the mounting clips in place. Don't forget to bring safety gear like gloves and safety glasses to keep yourself safe during the operation.
Step-by-Step Guide to Installing LED Neon Flex
Preparing the Installation Surface
First, make sure the spot where the flexible LED neon tube light will go is very clean. Get rid of any dirt, grease, or other things that could stop the glue from sticking. If you're going to use fixing clips or channels, mark on your design plan where they will go. For jobs outside, make sure the area is completely dry. You may want to use a base or finish to keep water out.
Cutting and Connecting LED Neon Flex Strips
Cutting your LED neon flex strips to the right length should be done with sharp scissors or a tool knife. Most strips have marked lines along their length so you can cut them. If you want to connect more than one strip, make sure you use the right fittings or glue the joints. Put heat-shrink tubes between the joints you make when you weld to keep water and short circuits out.
Mounting and Securing the Light Installation
Your LED neon flex package is ready to go after you cut the strips to size and connect them. When you use fixing clips, make sure they stay in place by using screws or strong glue every so often. Do not press the LED strip too hard into the clips; just make sure it's held in place. By adding closing holes all the way around the strip, you can make it look better. Connect the strips to the power source and remote (if you're using one) after you've put them up. Before you turn on your new unique light setup, make sure that all of the links are right.
Troubleshooting Common Issues
The LED neon bend project you make yourself might not go as planned, even if you plan it out very well. If your strip doesn't light up in some places, check to see if any links are broken or damage was done by accident. If your lights flash, it's probably because of a bad power supply. Check to make sure your power supply is enough for your system. If you are setting up outside, make sure that all of the links are covered properly to keep water out. It's possible that the settings and links on the device are not working right. Check them again.
Conclusion
If you like to do things yourself and want to change the way your home looks, LED neon flex is a great way to do it. Your creativity can shine through with this flexible LED neon tube light, which can also make any room feel better. It's simple to use and can be modified in a lot of ways. You can start your own LED neon flex project and make your lighting dreams come true if you follow this plan. Safety should always come first during installation, and you shouldn't be afraid to ask for help if the job is too hard or you don't know enough about power. If you want to learn more about LED neon flex and other lighting choices, you can email us at Linda@uc-led.com.