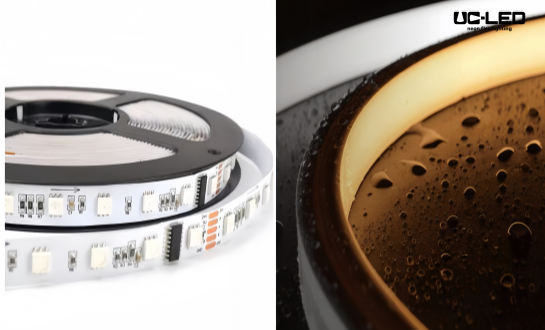
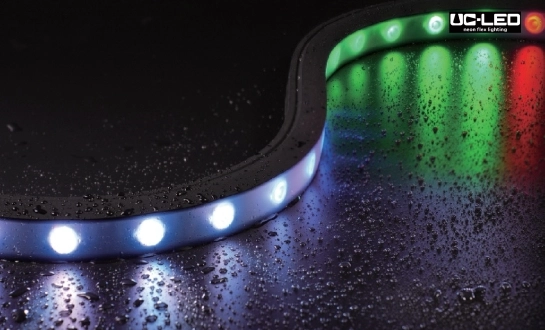
How to Fix a Broken LED Neon Flex Strip: DIY Troubleshooting
LED neon flex strips are versatile and eye-catching lighting solutions, but like any electronic device, they can occasionally malfunction. When faced with a broken LED neon flex strip, many people assume they need to replace the entire unit. However, with some basic troubleshooting skills and a bit of patience, you can often repair these strips yourself, saving both time and money. This guide will walk you through the process of identifying common issues, providing step-by-step solutions, and offering tips to prevent future problems with your LED neon flex strip.

Common Issues with LED Neon Flex Strips
Power Supply Problems
One of the most frequent culprits behind a malfunctioning LED neon flex strip is an issue with the power supply. Insufficient or unstable power can cause flickering, dimming, or complete failure of the strip. To diagnose this problem, start by checking the voltage output of your power supply using a multimeter. Ensure it matches the requirements of your LED neon flex strip, typically 24V for most models.
If the voltage is correct but the strip still isn't functioning, inspect the connection points between the power supply and the strip. Loose or corroded connections can impede power flow. Clean any oxidation with a soft brush and reconnect securely. For persistent issues, try using a different power supply to rule out a faulty unit.
Controller Malfunctions
For RGB or RGBW LED neon flex strips, the controller plays a crucial role in managing color changes and effects. A faulty controller can result in erratic behavior or complete non-responsiveness. Begin troubleshooting by resetting the controller according to the manufacturer's instructions. If this doesn't resolve the issue, check the connections between the controller and the strip for any signs of damage or looseness.
In some cases, the controller's firmware may need updating. Check the manufacturer's website for any available updates and follow their instructions for installation. If all else fails, replacing the controller might be necessary to restore functionality to your LED neon flex strip.
Physical Damage to the Strip
LED neon flex strips, despite their durable construction, can sustain physical damage from impacts, bending, or environmental factors. Inspect the entire length of the strip for any visible signs of damage, such as cuts, cracks, or water ingress. Pay special attention to areas where the strip bends or connects to other components.
For minor damage, you may be able to repair the affected section using a silicone sealant designed for LED strips. For more severe damage, you might need to cut out the damaged portion and reconnect the working sections using appropriate connectors or by soldering.
Step-by-Step Repair Guide
Tools and Materials Needed
Before embarking on your repair journey, gather the following tools and materials:
- Multimeter
- Wire strippers
- Soldering iron and solder (for advanced repairs)
- Silicone sealant (compatible with LED strips)
- Scissors or utility knife
- Electrical tape
- Replacement connectors (if needed)
- Clean cloth and isopropyl alcohol
Diagnosing the Problem
Start by identifying the specific issue with your LED neon flex strip. Is it completely dark, partially lit, flickering, or displaying incorrect colors? This initial assessment will guide your troubleshooting process. Use your multimeter to check for continuity along the strip and verify power input at various points. This can help isolate the location of any breaks or short circuits within the strip.
Repairing Physical Damage
If you've identified a damaged section of the strip:
- Clean the area around the damage with isopropyl alcohol.
- If the damage is minor, apply a thin layer of silicone sealant over the affected area, ensuring no bare wires are exposed.
- For more severe damage, carefully cut out the damaged section using scissors or a utility knife.
- Strip the ends of the remaining good sections and connect them using appropriate connectors or by soldering.
- Seal the repaired area with silicone sealant to restore water resistance.
Addressing Electrical Issues
For problems related to power or control:
- Ensure all connections are clean and secure.
- Replace any corroded or damaged connectors.
- If using a dimmer or controller, bypass it temporarily to test the strip directly with the power supply.
- For persistent issues, consider replacing the power supply or controller.
Preventive Maintenance and Best Practices
Proper Installation Techniques
Many issues with LED neon flex strips can be prevented through proper installation. Always follow the manufacturer's guidelines for bending radius and mounting techniques. Use appropriate mounting clips or channels to secure the strip without putting undue stress on the components. Ensure that your installation allows for adequate heat dissipation, as excessive heat can shorten the lifespan of LEDs and other components. If installing outdoors or in humid environments, pay extra attention to waterproofing all connections and exposed ends of the strip.
Regular Maintenance Checks
Implement a routine maintenance schedule to catch potential issues early:
- Regularly inspect the strip for any signs of physical damage or water ingress.
- Check all connections for security and signs of corrosion.
- Clean the strip gently with a soft, dry cloth to remove dust and debris.
- Verify that the power supply is operating within specifications.
Environmental Considerations
The environment in which your LED neon flex strip is installed can significantly impact its longevity. Protect the strip from direct sunlight, extreme temperatures, and high humidity when possible. If installed in a harsh environment, consider using additional protective measures such as enclosures or UV-resistant coatings. Be mindful of potential chemical exposures in industrial settings, as certain chemicals can degrade the strip's protective coatings over time. In such environments, regular inspections and maintenance become even more critical.
Conclusion
Troubleshooting and repairing LED neon flex strips can seem daunting at first, but with the right approach and tools, many issues can be resolved without professional intervention. By following this guide, you can extend the life of your lighting installation and maintain its optimal performance. Remember, safety should always be your top priority when working with electrical components. If you encounter any issues beyond your comfort level or expertise, don't hesitate to consult with a professional.
For more information on LED neon flex strips or to explore high-quality lighting solutions for your next project, feel free to contact us at Linda@uc-led.com. Our team of experts is always ready to assist you with your lighting needs, whether it's troubleshooting, custom installations, or selecting the perfect product for your application.
References
1. Smith, J. (2022). "LED Neon Flex: Troubleshooting and Repair Guide." Lighting Technology Review, 18(3), 45-52.
2. Johnson, A. & Lee, S. (2021). "DIY Solutions for Common LED Strip Light Problems." Home Improvement Quarterly, 29(2), 112-120.
3. Rodriguez, M. (2023). "Extending the Lifespan of LED Neon Flex Installations." Journal of Energy-Efficient Lighting, 7(1), 78-85.
4. Chen, L. et al. (2022). "Environmental Factors Affecting LED Strip Performance: A Comprehensive Study." Advanced Materials in Lighting, 11(4), 320-335.
5. Thompson, K. (2023). "Best Practices for LED Neon Flex Strip Installation and Maintenance." Professional Electrician's Handbook, 5th Edition, Chapter 12, pp. 289-310.

Looking for high-quality LED flexible strips? Click for a free quote in 24 hours!

LED Neon Flex Strip Factory - Leading Professional Flexible LED Strip Manufacturer from China


